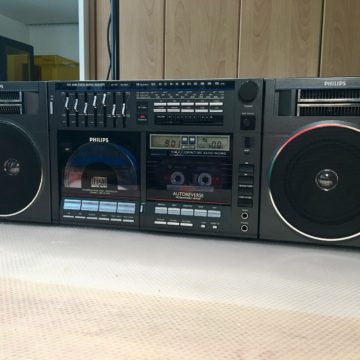
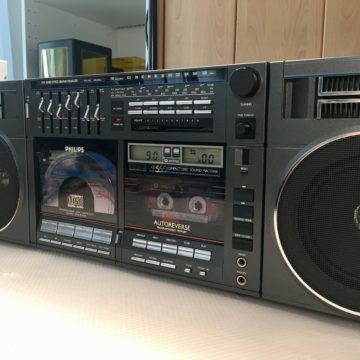
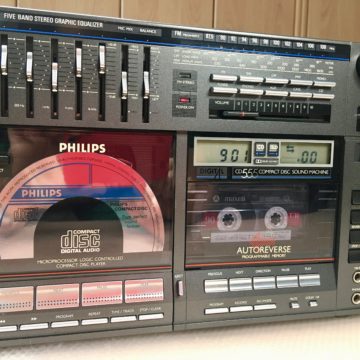
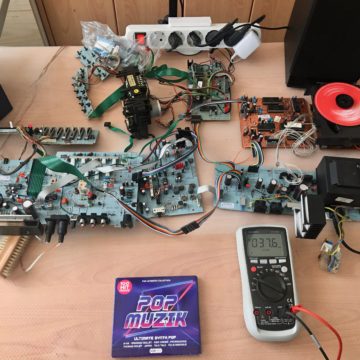
Finally the fourth unit is finished and works perfectly, better than new. It also looks like brand new, only a few minor scratches. I put the panels and other contents of unit 4 into the 5th in order to be faster to finish this one. Some issues were easy to solve like a complete recap of the CDM2 got it back working. Since one audio amplifier got brocken I replaced both to avoid any disharmony between one of the existing TDA2030 and the newer one.
Let’s summarise the issues we faced in the beginning:
- CDM2 not working, unable read the TOC, to jump to tracks and failed to play
- Tape Deck CPU hangs and made CD Player unusable
- Left audio channel not working (horrible buzzer)
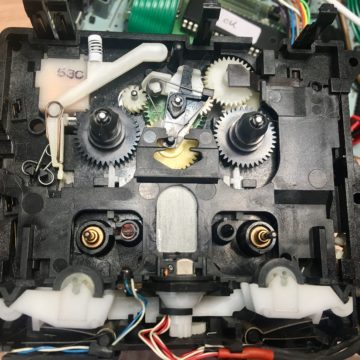
- A lot of broken parts at the tape mechanism
What I have done:
- Of course, cleaning
- Complete Recap
- Replaced both TDA2030’s
- New thermal paste
- Used the tape mechanism from #5, added springs to the white lever and replaced the gear. Cleaned, adjusted speed of capstan and reduced wow and flutter to 0.15%
- CDM2 checked, cleaned, recap and bracket replaced to save the flex cable, currency adjusted
- Cables re-crimped
- Power supply changed to 240V
- High quality audio capacitors used in whole audio line and for OpAmps (Nichicon and Elna Audio Grade, complete list in the download section)
- OpAmps changed on CD amplifier to OP2134PA Burr Brown
- OpAmp for tape deck changed to OP2134PA Burr Brown
- OpAmp for pre-amplifier LM4562NA
- New volume potentiometer with dust protection
- New tape deck CPU
- Digital counter for tape deck with 56byte memory and real time clock (not used until now)
- Springs for tape mechanism
- …still need to add bluetooth sound module
Nice side effect: this one stays really cool even when playing for several hours. It is absolutely worth to refresh and use a good quality thermal paste. First long term tests were successfully conducted during the last days.
In the next step I finish the videos and will start with another series of videos about modifications. Stay tuned…
