Whilst working on the Tape Deck CPU replacement I always thought it would be great to have a new controller with more features too. The only problem is, that again, there is absolutely no information available how the CDM2 can be controlled. There are also different variations out there, although it seems only the CDM2/19 got used in the CD555.
Now the good thing I noticed is that, compared to newer generations of CD-Players from Philips the CDM2 board has its own MCU on board which controls the motor, focus and other components. This means there must be a kind of communication between the CDM2 MCU and the MCU on the controller board of the CD555. A glimpse into the data sheets revealed it is a simple I2C bus. Philips invented the I2C bus for an easy communication between different microcontrollers. Perfect – here is a point to hack into.
Reverse Engineering
I had done some first tests with the CD555 and my oscilloscope but quickly recognised that this is not a very useful way to get any further.
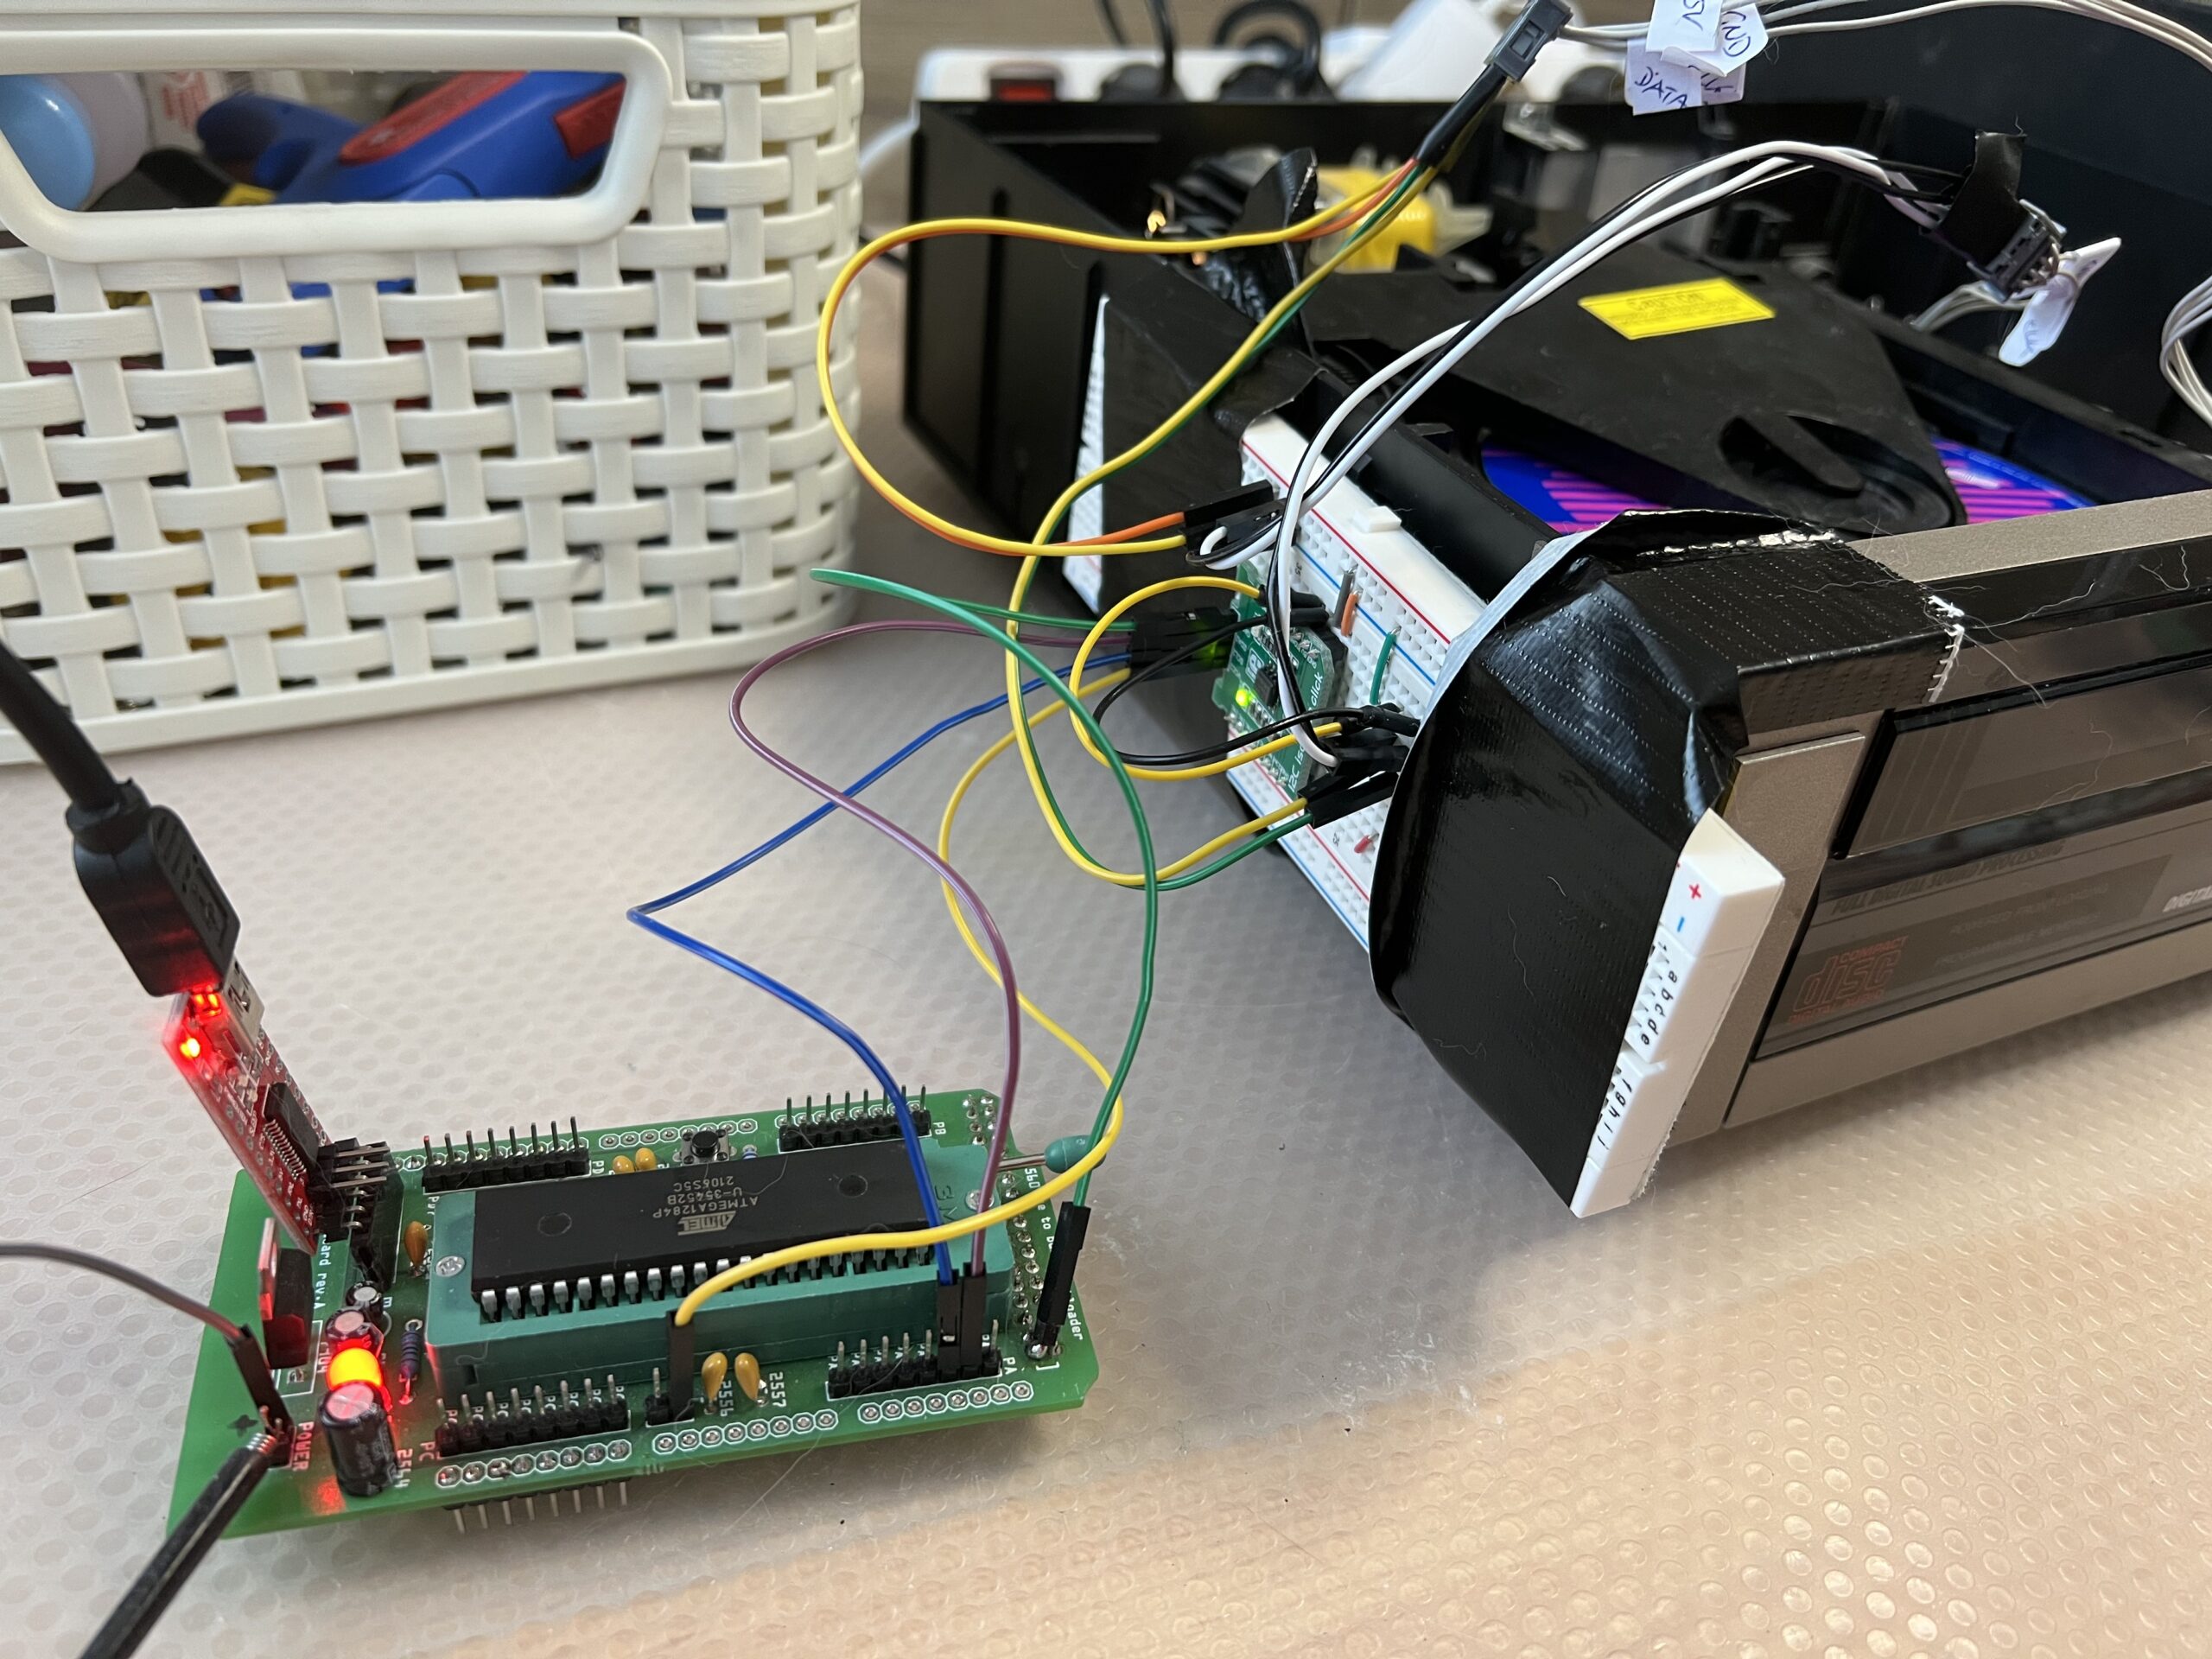
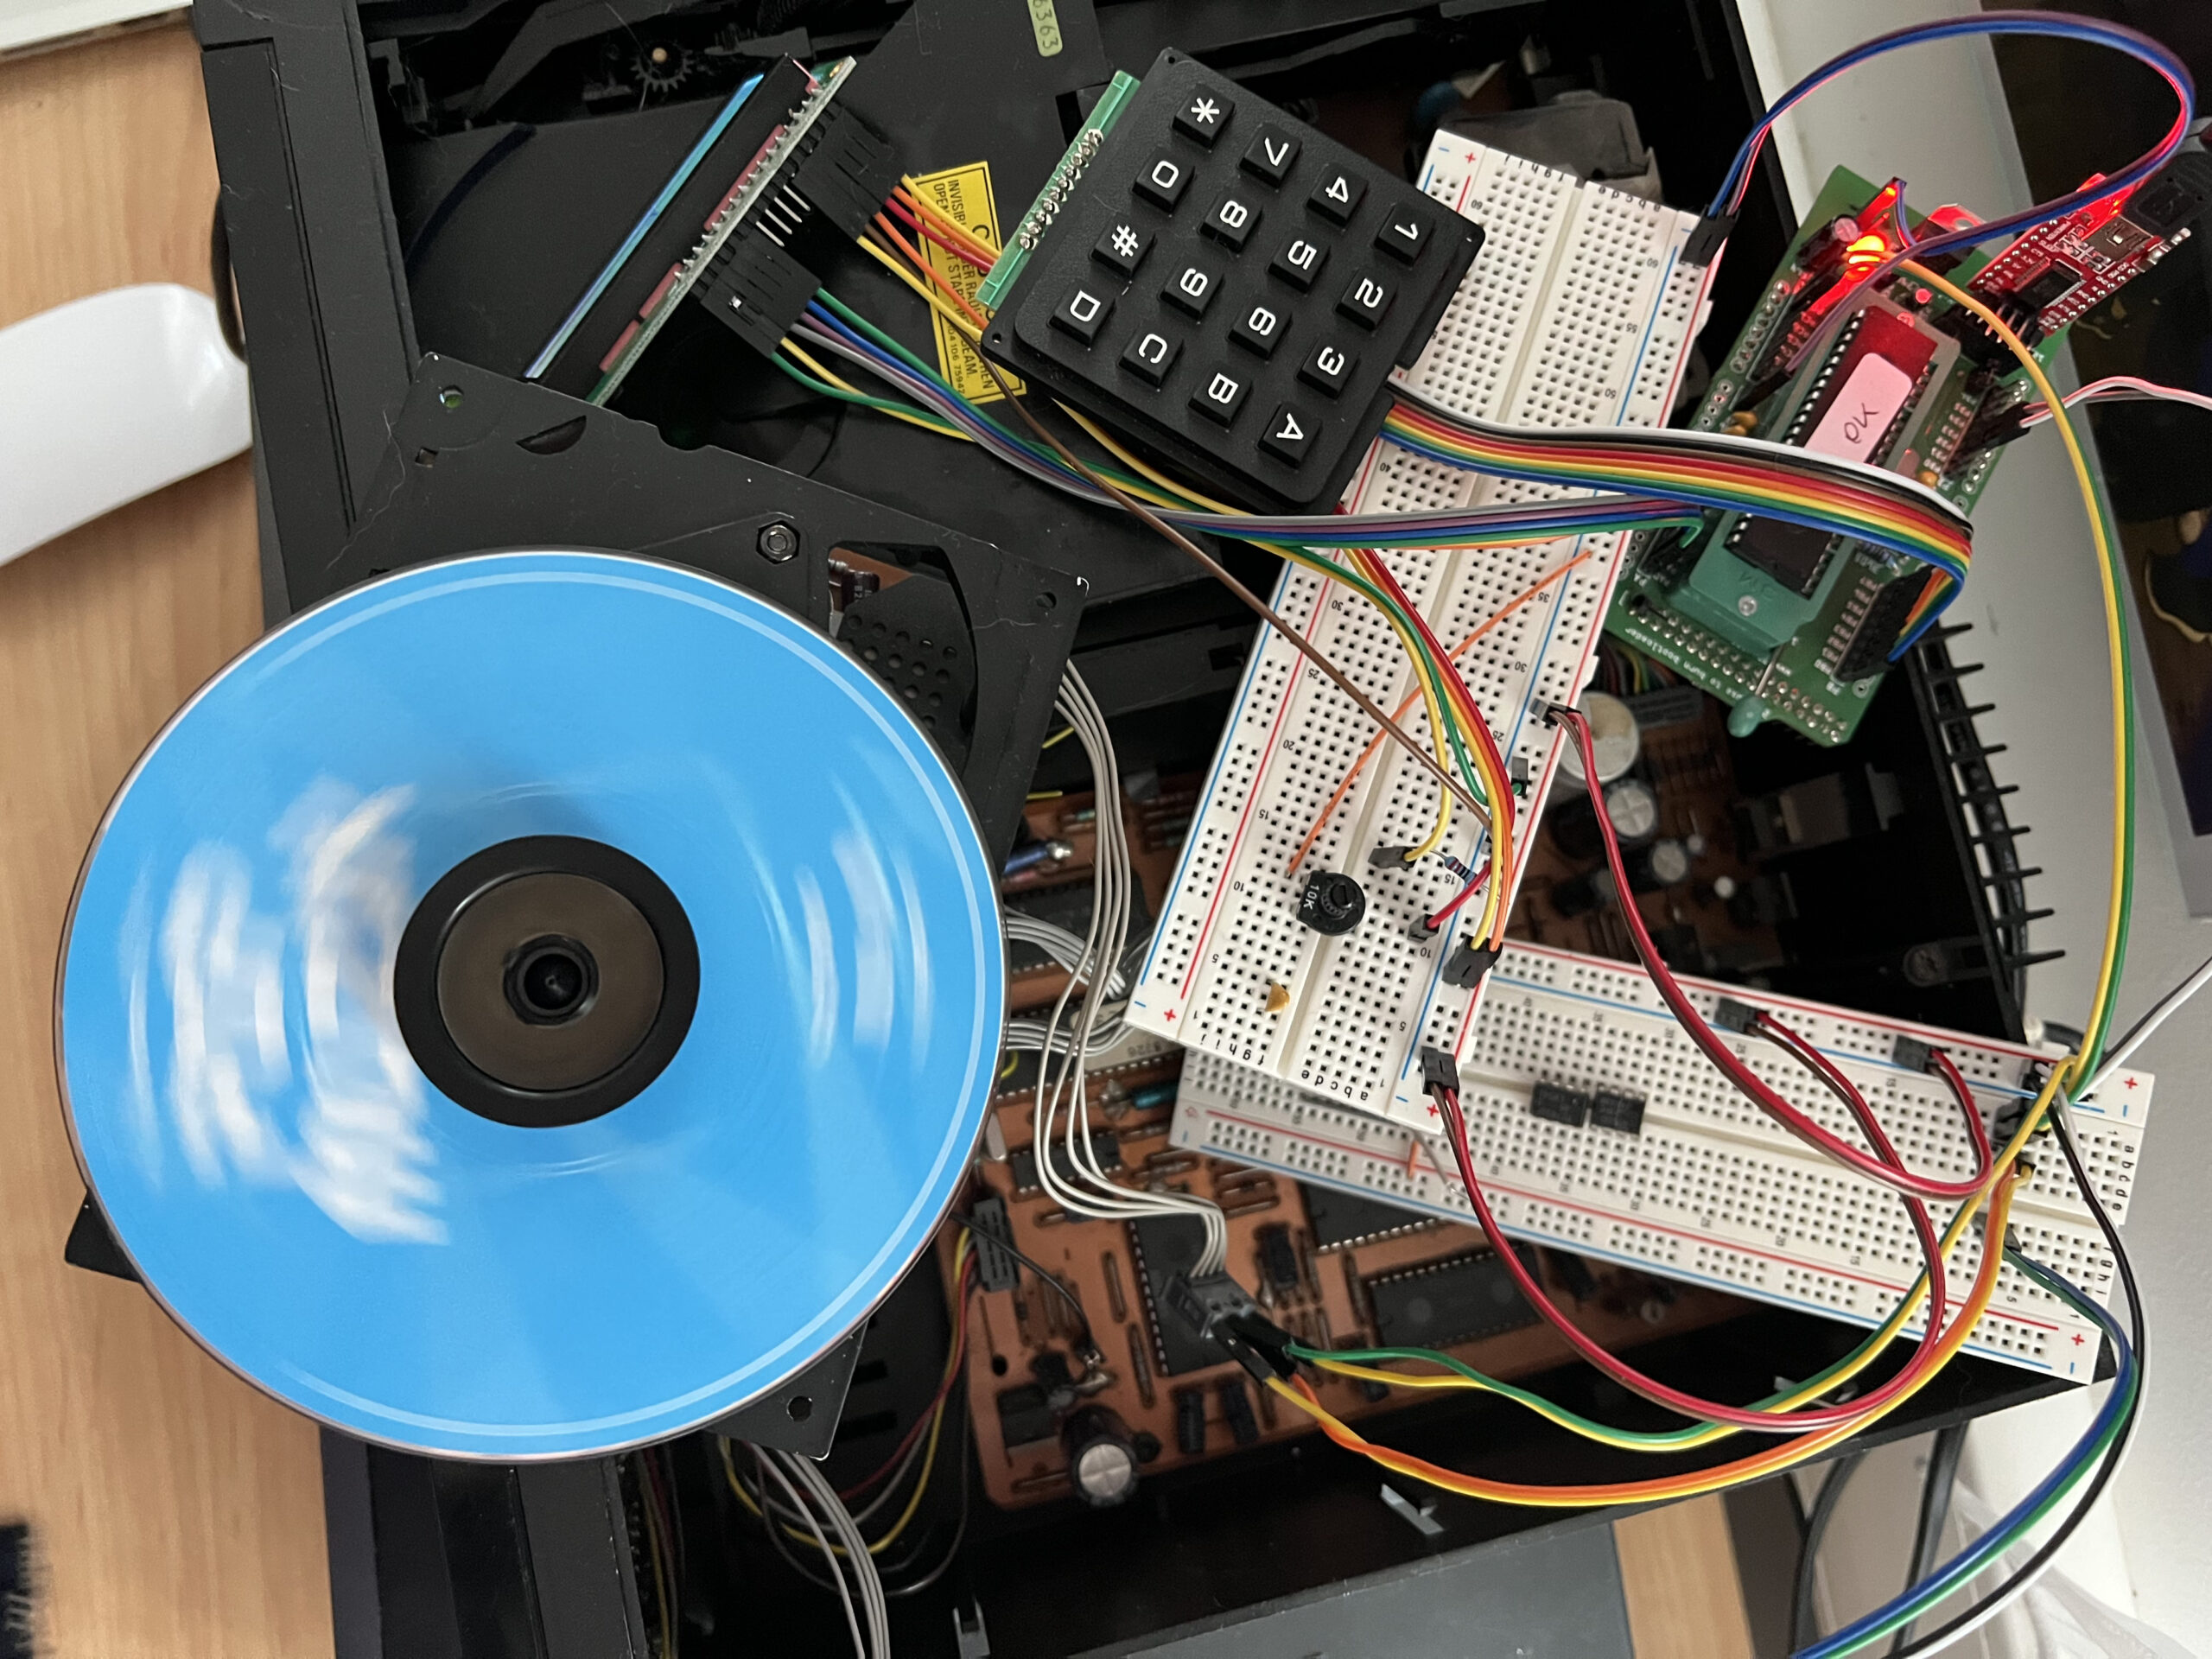
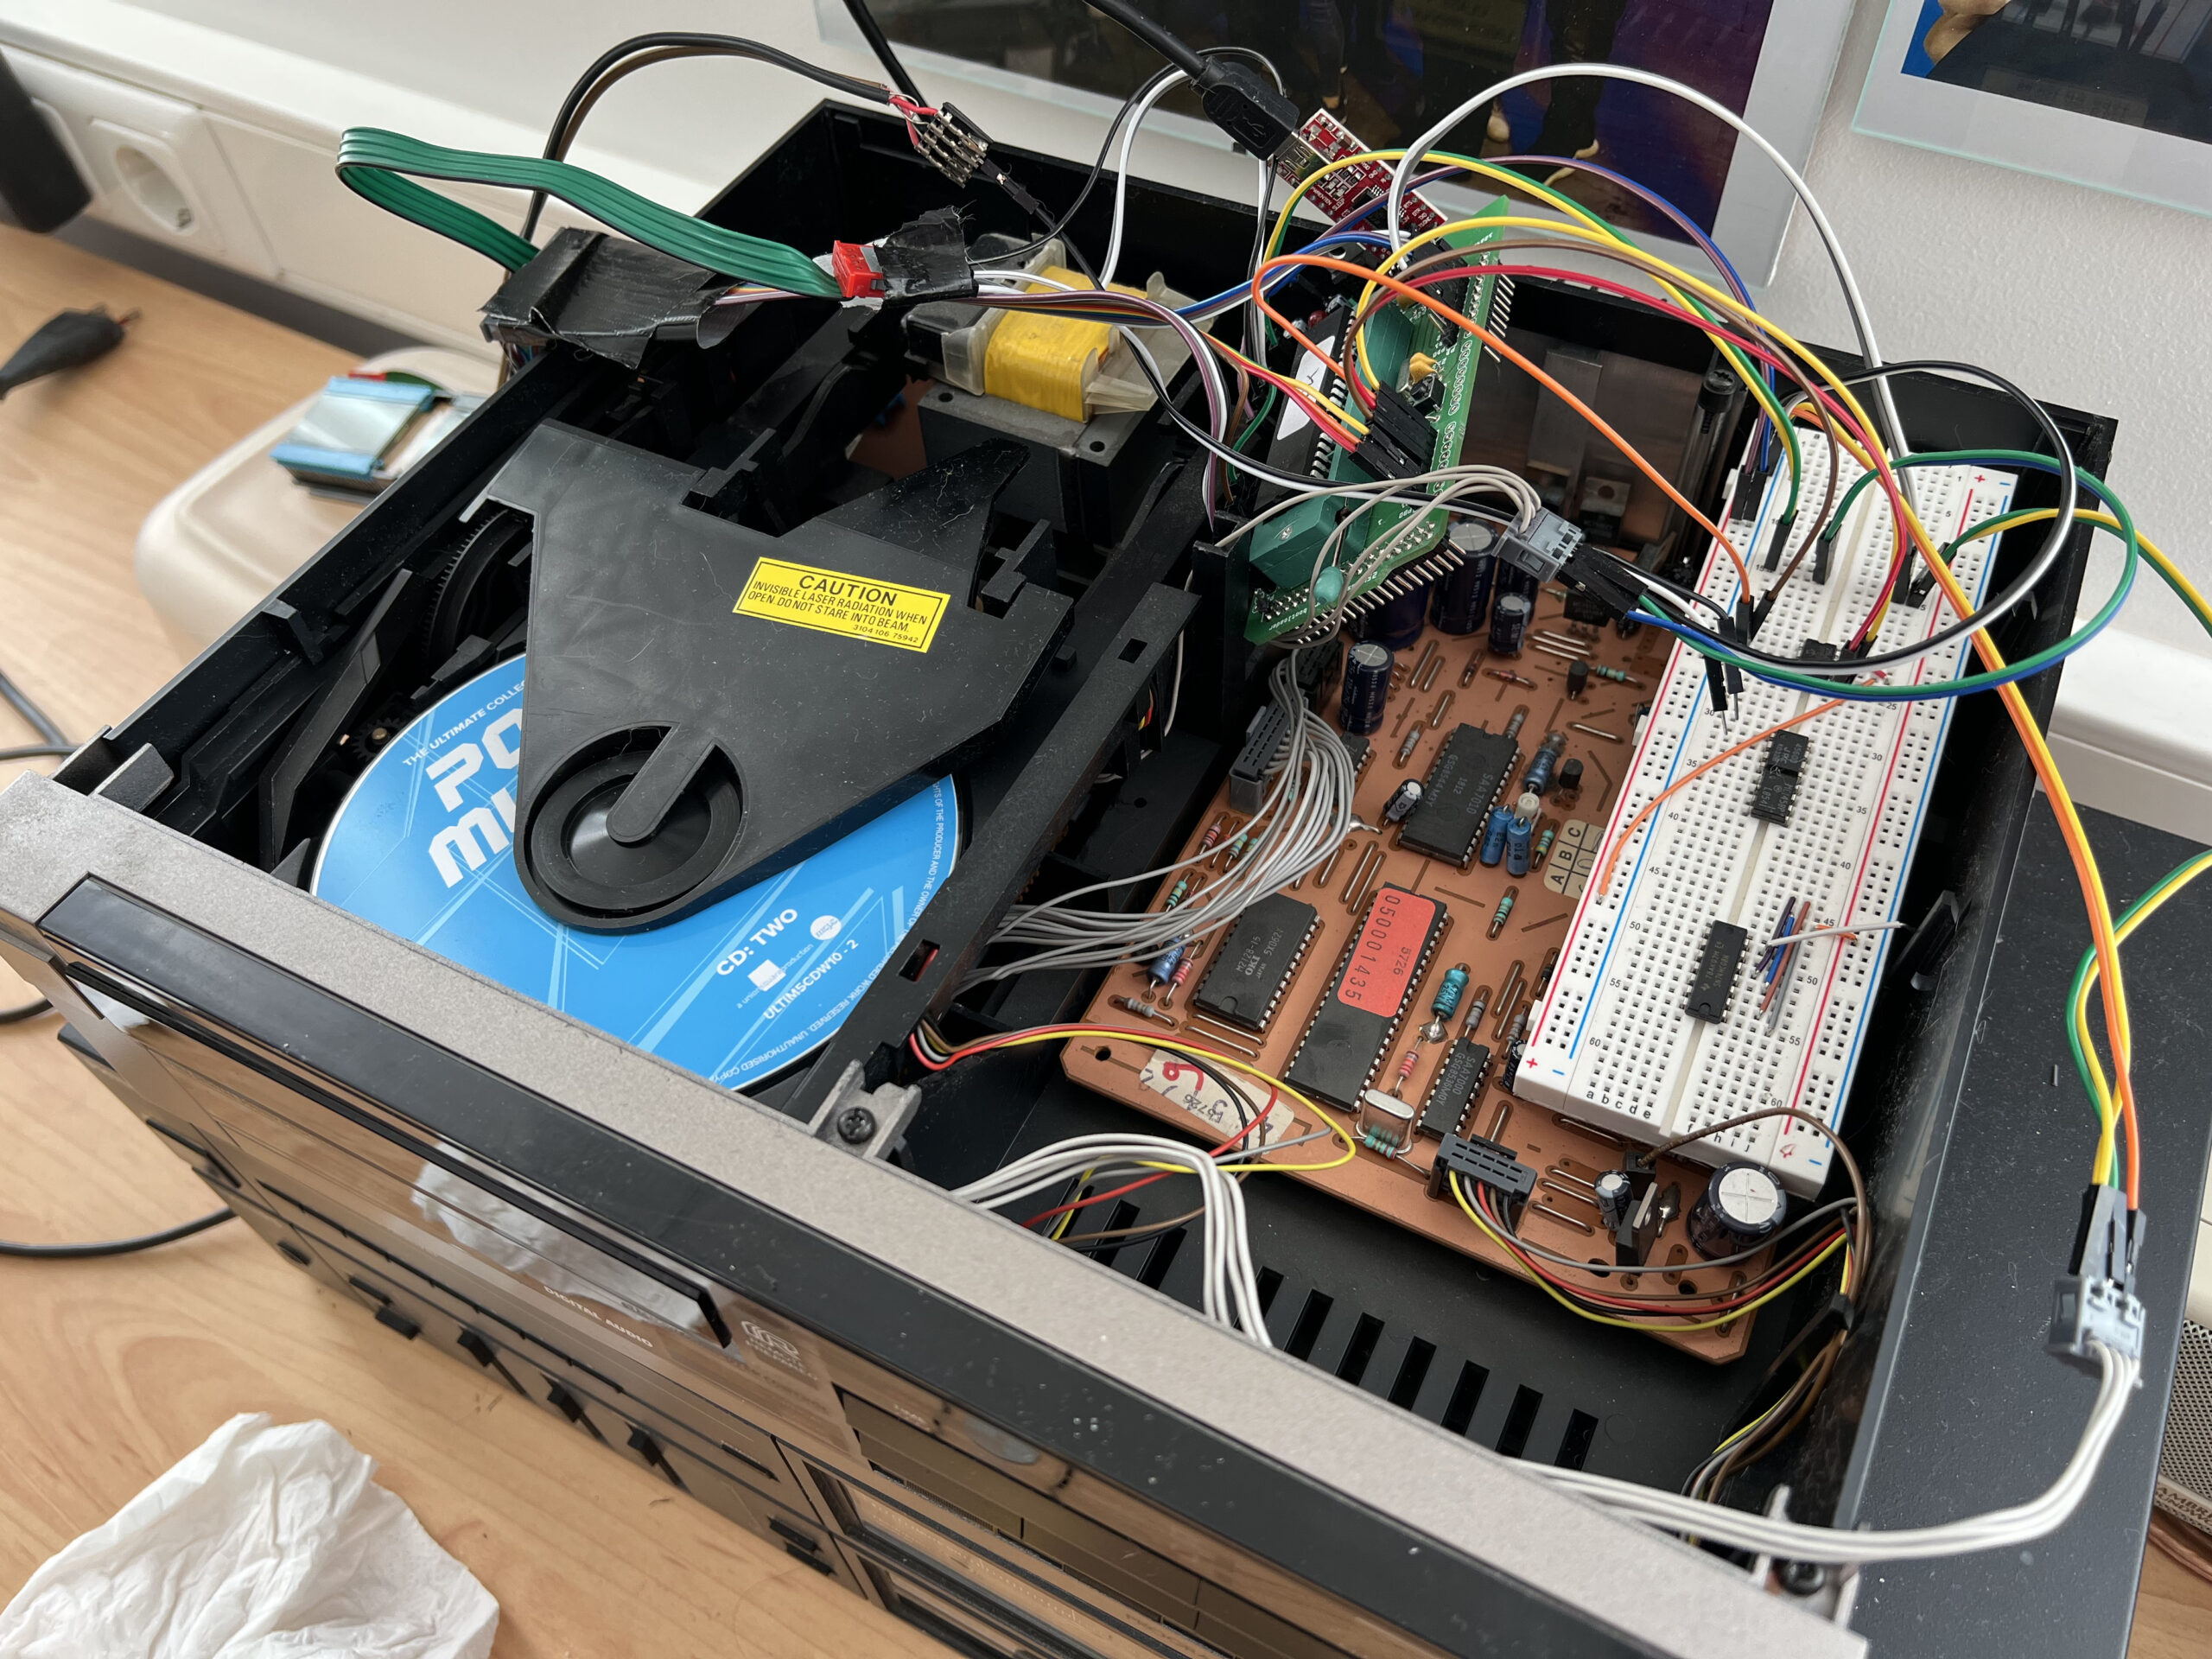
To get an idea and impression if it is possible to control the CDM2 I decided to use one of my Philips CD150 players to avoid using the whole CD555 which requires a lot of space and can causes other troubles without focusing on the important task. The CD150 contains the same CDM2 drives with controllers and can replaced 1:1 in the CD555.
The power supply of the CD150 was necessary to get the different voltages. As controller I used my breakout board for the 1284P. Since I was now using two different power supplies, the CD150 for the CDM2 and another one for the 1284P it is necessary to use a I2C isolator in between. Cheap to the and easy to use.


First I kept the connection between the controller inside the CD150 and the CDM2 and just listened to the communication between them. Without any documentation it was clear that I will not reveal all the functions and features but hoped to gain enough knowledge to be able to develop a controller.
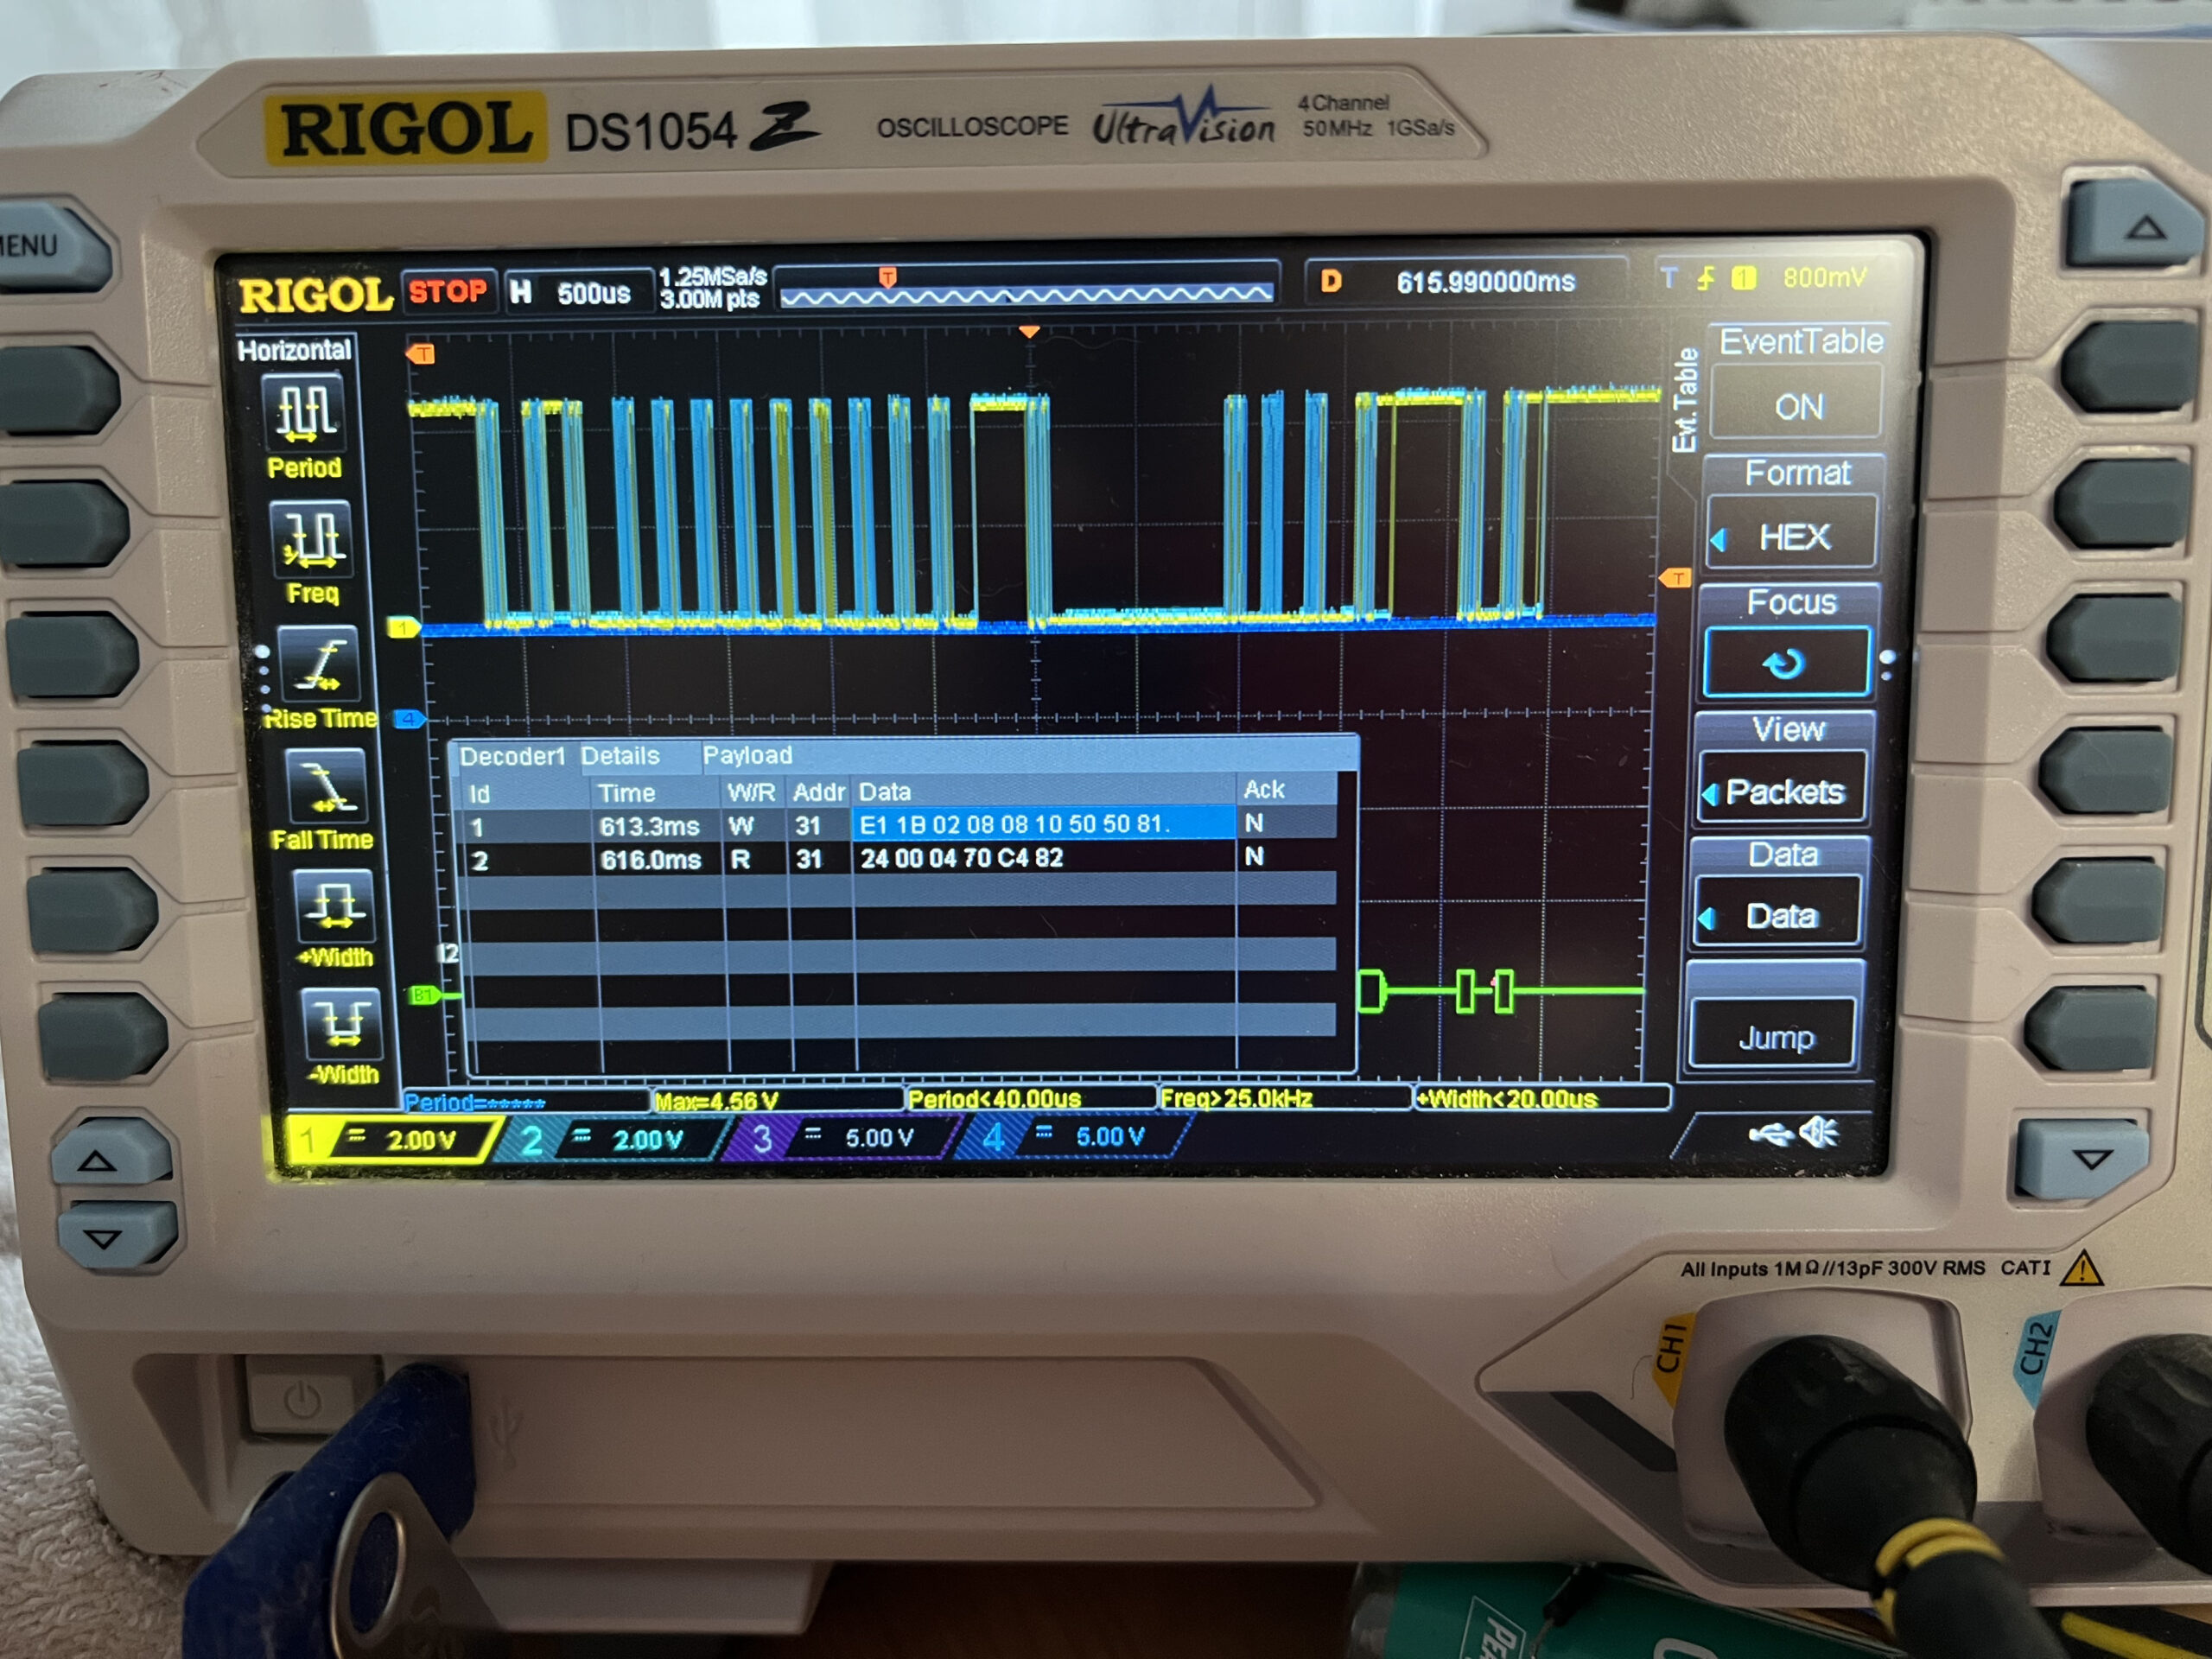
Soon it was clear how the communication takes place. Here’s a first listing of ongoing activities:
62+ E1+ 0B+ 01+ 01+ 01+ 00+ 02+ 16+ 00+ 04+ 16+ 63+ 00+ 00+ 00+
FF+ 62+ B4+ 02-02- 62+ E1+ 0B+ 01+ 01+ 01+ 00+ 02+ 1A+ 00+ 04+ 1A+
63+ 00+ 00+ 00+ FF+ 62+ B4+ 02- 02- 02- 62+ E1+ 0B+ 01+ 01+
The bytes contain the addresses of the two MCUs e.g. 62 and 63 while + and – means send or receive. But with this information I was not able to get a clearer picture so I improved my sniffer…
W62+ F0+ 41+
R63+ A0+ 00+ 00+ 5F+
W62+ B4+ 02-
W62+ E1+ 41+ 01+ 00+ 11+ 01+ 19+ 1B+ 3D+ 08+ 32+
R63+ A0+ 00+ 00+ 5F+
W62+ E1+ 41+ 01+ 00+ 13+ 01+ 19+ 1F+ 44+ 1B+ 42+
R63+ A0+ 00+ 00+ 5F+
W62+ B4+ 02-
W62+ E1+ 41+ 01+ 00+ 13+ 01+ 19+ 21+ 44+ 1B+ 42+
R63+ A0+ 00+ 00+ 5F+
W62+ B4+ 02-
W62+ E1+ 41+ 01+ 00+ 14+ 01+ 19+ 23+ 48+ 26+ 2C+
R63+ A0+ 00+ 00+ 5F+
By separating the commands of the two MCUs revealed I am now listening to the communication of the Table of Contents (TOC) e.g. the directory of the CD with tracks and times. W62 is the address of the CDM2 and R63 the address of the CD555. Shortly afterwards it was clear that the last digit of the CD555 command represents a checksum and both MCUs need to acknowledge that they received the message.
With some different messages and values for the checksum I was able to calculate it to ensure the CDM2 MCU will accept my commands. Back in 1985, or whatever was the year of development, checksums cannot be a time consuming procedure and will be held very simple. Checksums in generell are no secret or something complex. Since the CD555 always answers with 4 bytes, it took less than 5 minutes to figure out the checksum formula:
Buffer[3] = 0xFF - Buffer[0] ^ Buffer[1] ^ Buffer[2];
Table of Content
Now before I am able to start sending commands to the CDM2 it was necessary to figure out how the TOC gets communicated. Without the TOC it will probably not be possible to jump to tracks or to navigate. Here is a listing of my sniffer showing the relevant bytes.
E1 41 1 0 5 1 15 36 19 1E 33
E1 41 1 0 6 1 15 38 22 31 9
E1 41 1 0 6 1 15 3A 22 31 9
E1 41 1 0 8 1 15 3F 30 18 D
E1 41 1 0 9 1 15 41 35 2B 29
E1 41 1 0 9 1 15 43 35 2B 29
E1 41 1 0 A 1 15 45 3B 33 40
E1 41 1 0 64 1 15 47 1 0 0
E1 41 1 0 64 1 15 49 1 0 0
E1 41 1 0 65 1 16 0 A 0 0
E1 41 1 0 66 1 16 2 40 20 35
E1 41 1 0 66 1 16 4 40 20 35
It can be seen that every entry has 11 bytes, the first relevant byte is byte 5 which indicated the track number. Well, the information does not get in straight because of the position of the laser on the sector of the disc. Might cause by the sectors or whatever? In this case the first track that shows up was track #5. We can also see that some information appears multiple times. There are some track numbers that do not exist at the end: $64-$66 (all information in hex format).
Since I was not able to get any Audio-CD with chapters I considered to only support tracks. Guess byte 6 represents the chapters but I am not able to confirm this.
Byte 7 is also unclear since it is almost every time 15 or 16. It might be the sector? However, by knowing the durations of the tracks of a CD it was clear that byte 9 and 10 contains minutes and seconds. 11 could be milliseconds since it never passes the value 100 but I do not have a CD-Player showing milliseconds and are not able to confirm this right now. The time is ongoing and not for every single track but a simple calculation makes it possible to get the time of each track. Following listing reveals the times of the 10 tracks of the Audio-CD with the commented time calculated for each track:
E1 41 1 0 1 1 16 6 0 2 0  6:04
E1 41 1 0 2 1 16 8 6 7 4  5:46
E1 41 1 0 2 1 16 A 6 7 4  5:46
E1 41 1 0 3 1 16 C B 35 D  6:12
E1 41 1 0 4 1 16 E 12 5 31  7:24
E1 41 1 0 4 1 16 10 12 5 31  7:24
E1 41 1 0 5 1 16 12 19 1E 33  9:18
E1 41 1 0 6 1 16 14 22 31 9  7:58
E1 41 1 0 6 1 16 16 22 31 9  7:58
E1 41 1 0 7 1 16 18 2A 2F 1D  5:36
E1 41 1 0 8 1 16 1A 30 18 D  5:19
E1 41 1 0 8 1 16 1C 30 18 D  5:19
E1 41 1 0 9 1 16 1E 35 2B 29  6:08
E1 41 1 0 A 1 16 20 3B 33 40  4:40
E1 43 1 0 A 1 16 22 3B 33 40  4:40
Track $64 might represents the lead out information but I have to do some more tests to unveil the whole secret…
First steps
By getting more and more information and listening to different commands like play, stop etc. I was able to start first test in developing a software to control the CDM2. Again I was using my breakout board and started writing basic commands to control the CDM2.


See more in my first video about the development…